The agitator is an important part of washing machines, and sometimes it needs to be repaired or replaced. In top-loading models, the agitator or impeller is used to wash clothes inside the tub. The center column that spins, rubs against the clothes, and helps remove dirt is the agitator. The impeller is a cone or disk that spins so that articles of clothing rub against each other and thus get cleaned. In front-loading models, lifters or fins hold the clothes in the drum. Let’s understand how to remove the agitator from a GE washing machine.
GE washer agitator removal process
Sometimes the GE washer needs to be replaced broken agitator or cleaned. All extraction processes must be done sequentially so as not to spoil the ge washer and subsequently contact a ge washer repair technician. Now let’s take a closer look at all the details to properly how to remove the agitator from a GE washing machine.
Get the GE washer ready to remove the agitator
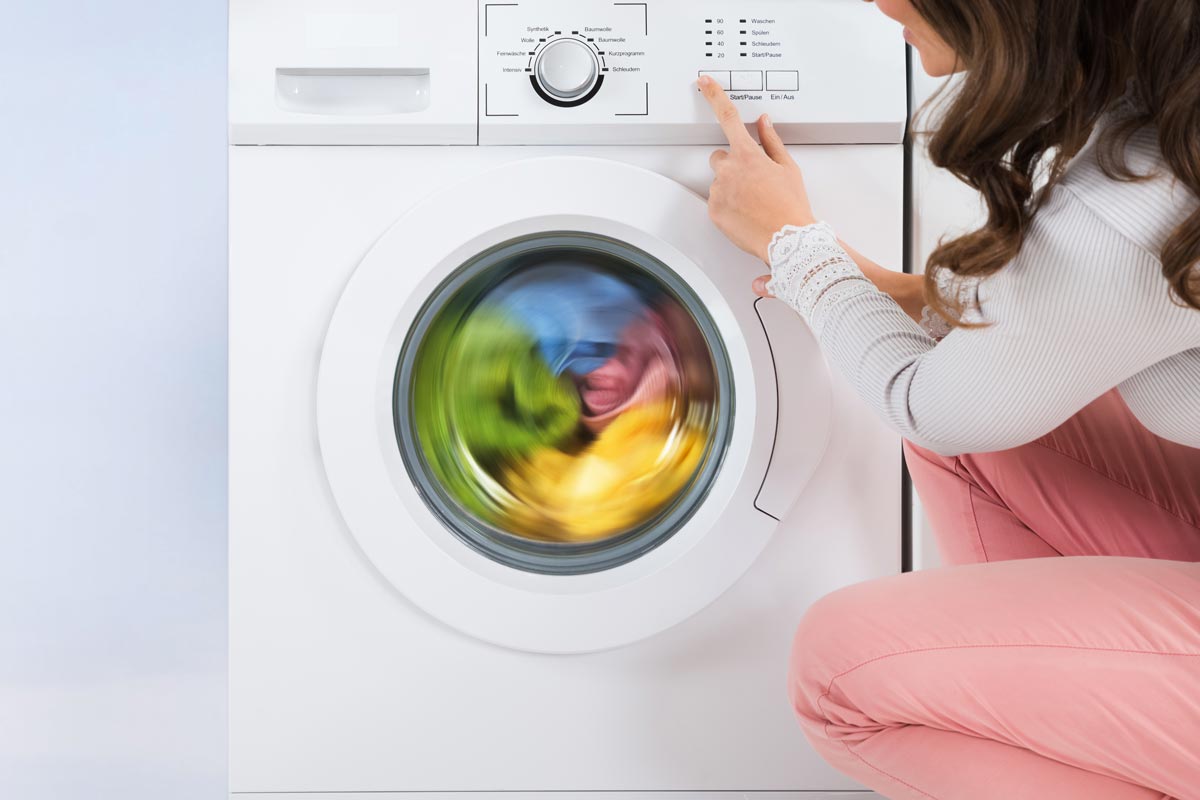
It’s crucial to make sure your washer is ready for the agitator removal procedure before we start. To start, unplug the washer’s power supply to prevent mishaps. Usually, you can accomplish this by removing the power cord from the wall outlet or, in the case of a hard-wired system, turning off the circuit breaker.
Next, disconnect the hoses or close the water valves to cut off the washer’s water supply. This is essential to avoid any spills or leaks of water while removing the agitator.
To access the interior of the washer, open the agitator cap after turning off the water and electricity supplies. Examine the agitator for a moment to see if there is any obvious damage or obstruction that needs to be replaced or repaired.

Now let’s gather the tools needed for the agitator removal process. The kind of agitator in your GE washer will determine whether a socket wrench or a screwdriver is needed.
You may proceed to the next stages of the agitator removal process now that you have the required instruments and the GE washer is ready. It’s a really easy process that anyone with a little perseverance and attention to detail can complete. You can also find out what to do with your Samsung washing machine if it does not drain water.
Take out the dispenser of fabric softener
To reach the agitator for removal, the fabric softener dispenser must be removed. It is necessary to remove the fabric softener dispenser before continuing, which is frequently found on top of the agitator.
Find the GE washers fabric softener dispenser first. Usually, it is a little cup or chamber that sits in the agitator’s middle. Remember that the design could change based on the model of your washer; for further instructions, refer to the handbook that came with the appliance.
Once you’ve found the fabric softener dispenser, remove it from the agitator by gently pulling it upward. Dispensers can be fixed by clips or snaps on some, while they can slip off on others. Take care not to overwork the dispenser to prevent damage, and make sure you don’t get stuck agitator.
After removing the fabric softener dispenser, set it aside and look for any residue or accumulation. To ensure optimal performance, thoroughly clean the washer with warm water and a mild detergent before reassembling it.
Take the agitator bolt off
We can now focus on unscrewing the agitator bolt after moving the fabric softener dispenser out of the way. The metal bolt holding the fastened agitator in place needs to be undone before it can be taken out of the washer.
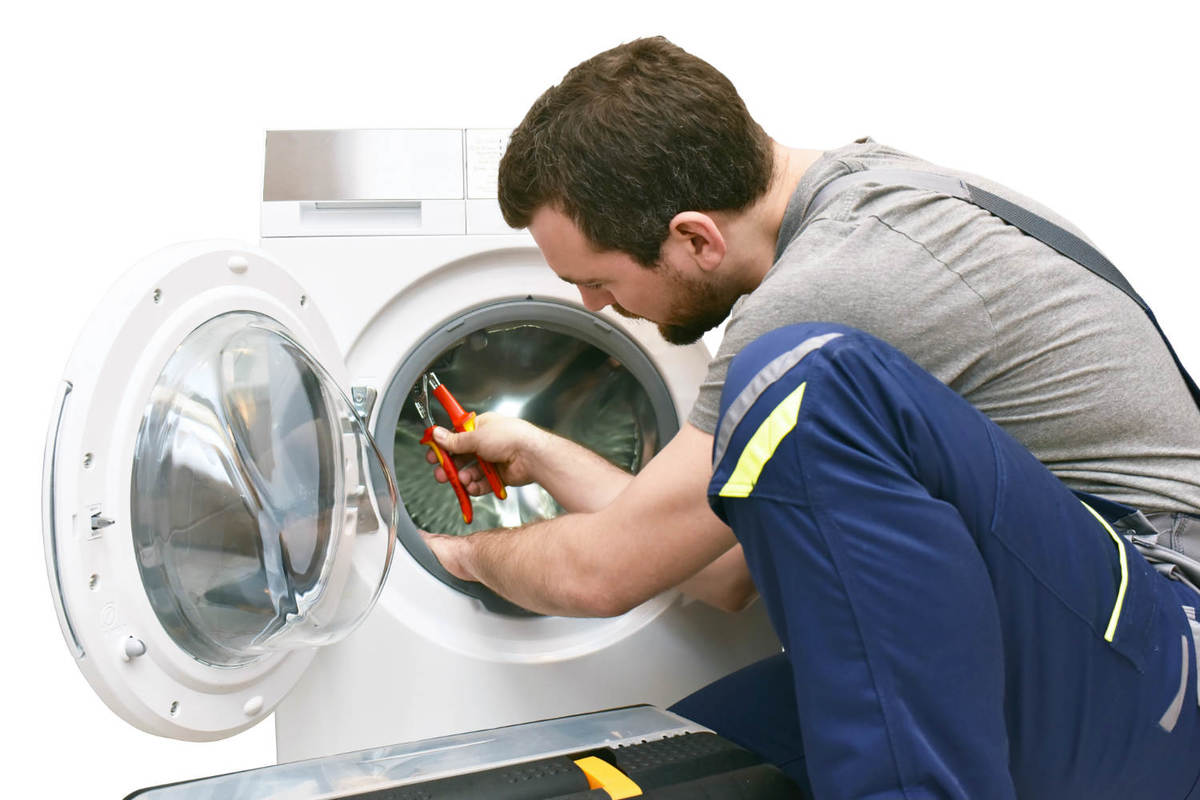
Find the agitator metal bolt on your GE washer first. Usually, it is positioned in the middle of the agitator, below the former location of the fabric softener dispenser. Using a flathead screwdriver, carefully pry off any little detachable cover or plastic cap that may be covering the bolt. After exposing the bolted agitator, loosen it in a counterclockwise manner using a socket wrench or an appropriate screwdriver.
While you’re loosening the bolt, don’t forget to hold onto the agitator with your other hand to keep it from moving.
You might try lubricating the bolt with a vinegar and water combination or penetrating oil if it’s tight and hard to dislodge. Let the oil settle for a few minutes, and then try to unscrew the bolt once again. To prevent breaking the bolt or the agitator, proceed slowly and carefully.
Tighten the single metal bolt more until it comes off entirely. You will need the bolt later on while reassembling the washer, so put it aside in a secure location.

How to remove the agitator from a GE washing machine
It’s time to take the agitator out of your GE washer now that the bolt has been released. You’ll have the agitator out in no time if you follow the right method, although this step does need a little power and dexterity.
To begin, firmly place your hands on the opposing sides of the agitator, close to the top. Pull the agitator upwards slowly and steadily, applying equal pressure to both sides. It could take some effort to remove the agitator since it might be tightly fastened to the motor shaft.
To help loosen the agitator, try wriggling it back and forth while tugging upwards if it doesn’t budge. Steer clear of yanking or using too much effort, as this might harm the agitator or the washer.
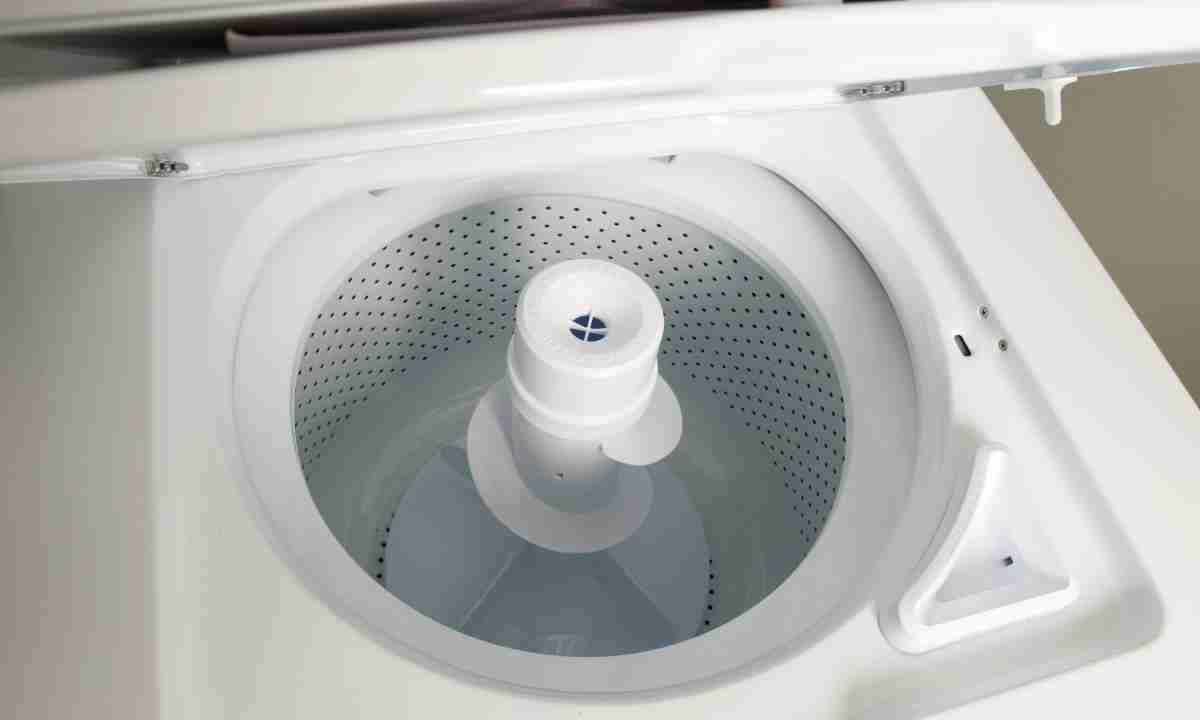
Depending on the model of your washer, you can run into resistance from the ratchet mechanism or agitator dogs as you continue to raise the agitator. These parts are meant to let the agitator go in one direction throughout the washing cycle and then lock it in the other.
Continue steadily lifting upward while rotating the agitator back and forth to overcome this resistance. By using this action, you may raise the agitator out of the washer entirely by helping to remove the ratchet mechanism or agitator dogs.
Take a minute to examine the agitator once it has been removed to look for any wear or damage. To properly clean the agitator and get rid of any accumulated dirt or debris, use warm water and a mild detergent.
Clear the drum and GE washer agitator
It’s time to give the agitator and the drum a thorough cleaning now that they have been removed. Your washer’s effectiveness and cleanliness may be impacted as a result of dirt, grime, and detergent residue building up on these parts over time.
To begin, take the agitator to a bathtub or sink and give it a quick rinse in warm water. For tough stains or residue, use a scrub brush or sponge to gently clean them away. You may mix equal parts water and vinegar to make a cleaning solution for more tenacious stains or smells. After applying this solution to the agitator, let it sit for a short while before giving it another scrape.
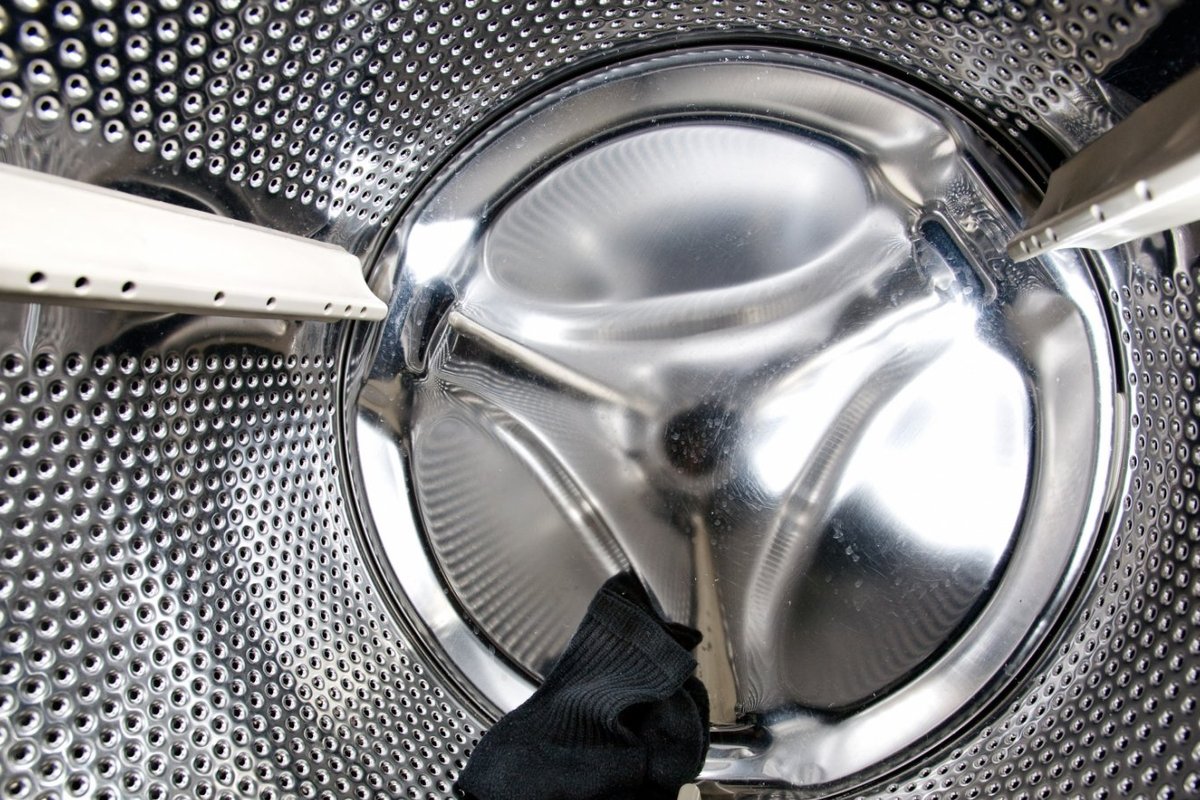
Regarding the drum, any apparent filth or residue may be removed using a moist cloth or sponge. Pay special attention to the drum’s inner borders, as here is where debris may gather. You may make a paste using baking soda and water to remove any tough build-up or stains. After applying this paste to the afflicted regions, use a towel or sponge to gently cleanse.
If you run into any problems or questions during reassemblying your GE washer, refer to the owner’s handbook or get in touch with the manufacturer for support. Safety should always come first, therefore it’s advisable to get expert assistance if you’re unclear how to proceed.
Rinse the agitator and drum well with clean water after washing them to get rid of any remaining cleaning solution. Making sure that no cleaning supplies are left behind is crucial since they may affect how well your subsequent wash cycle works.
Before reassembling the GE washers, let both parts air dry fully after cleaning and rinsing them. This will stop any moisture from growing mold in the washer or producing offensive odors.
An essential maintenance task that should be carried out regularly to keep GE washers operating at their best is cleaning the agitator and drum. Along with aiding in the removal of dirt and grime, it also stops stains and smells from spreading to your clothing while it is being washed. You’ll thus get cleaner and fresher washing outcomes if you take the time to completely clean these components. You can also find out more information on how to remove the agitator from a GE washing machine.
Put the washer back together
After cleaning the agitator and drum, it’s time to reassemble your GE washer by putting everything back together. Pay close attention to these instructions to guarantee a safe and correct reassembly.
The agitator and drive shaft should first line up in the washer’s center. Make sure the agitator is snugly and securely seated when you gently drop it onto the driving shaft.
Make sure the agitator dogs or locking mechanism on your washer is correctly engaged before continuing. To make sure the agitator is secured in place and won’t move throughout the wash cycle, rotate it back and forth.
The agitator bolt or screw that you previously laid aside should now be retrieved. To tighten it, place it into the agitator bolt hole and turn it clockwise. Make sure the bolt is properly secured using your socket wrench or screwdriver, being cautious not to over-tighten.
Reinstalling the fabric softener dispenser is necessary once the agitator bolt has been tightened. Just put it back onto the agitator, making sure it is firmly in place. Verify that any clips or snaps on your dispenser are securely engaged to keep it in place.
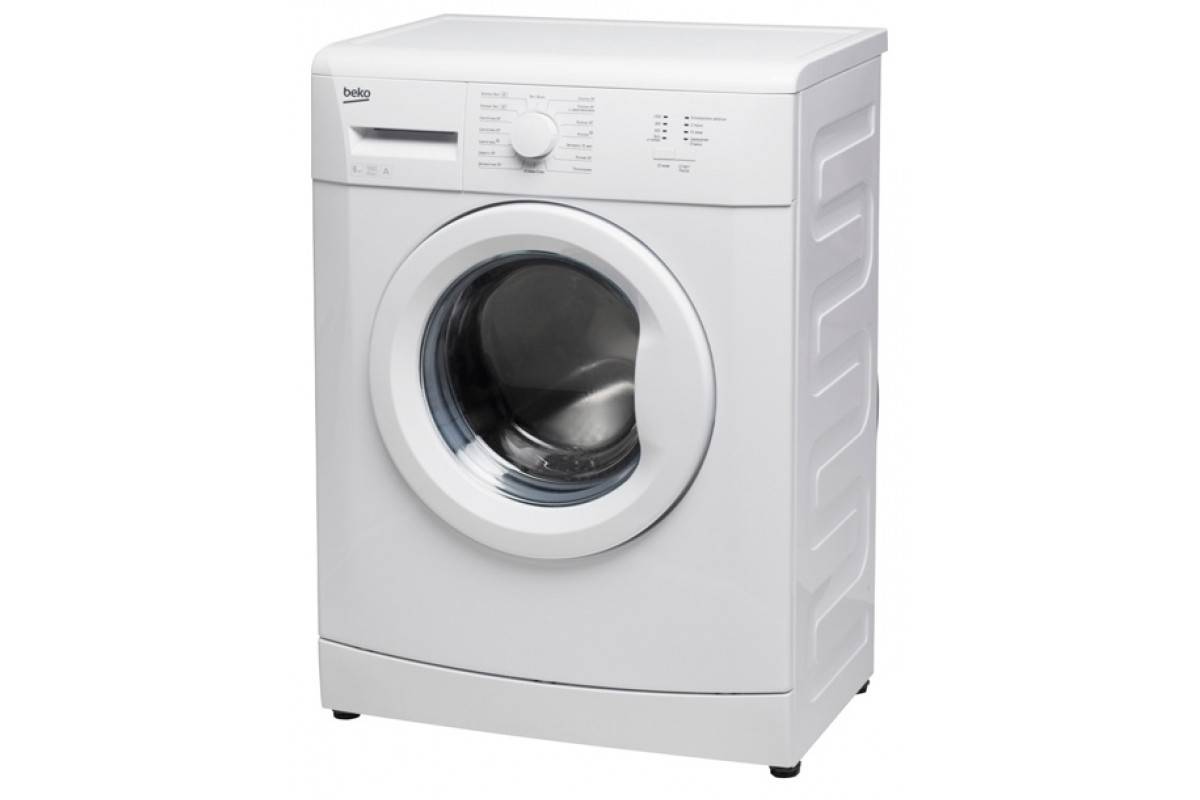
It’s time to reconnect the washer’s power and water supply after reinstalling the agitator and fabric softener dispenser. Reconnect the water hoses or open the water valves after plugging in the power cable or turning on the circuit breaker.
When the washer lid has been closed, make sure everything has been put back together firmly. Make sure the agitator is securely secured in position by giving it a little twist.
Conclusion
Above, we have discussed the detailed steps for the removal process of the stirrer from the GE washer model. Let’s take stock and briefly recall all the actions. To remove the GE washer agitator, begin by disconnecting the power supply from the GE machine. When you remove the agitator from the GE washer, use painter’s tape to tape the washer cover to the top panel. Locate the retaining clips with a plastic spatula inserted between the front panels and the top, and loosen the center bolt of the agitator before setting it aside.
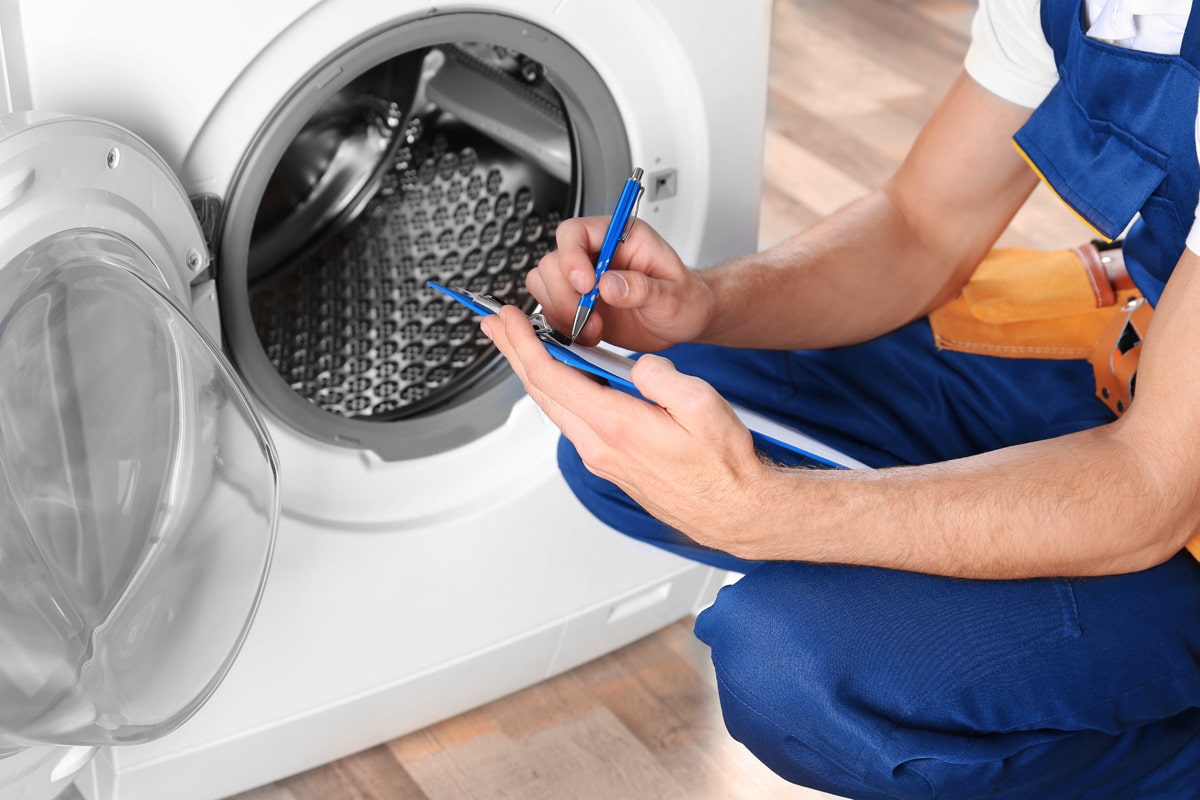
When removing the GE washer agitator, disconnect the machine from the power source. Tape the washer lid to the top panel to prevent the lid from opening. Squeeze the clips with a trowel and lift the front of the top panel. Lift the top panel to the working position of the bit and fold back the locking tabs. Lift the agitator cap and dispenser off the top.
If the dispenser is intact, insert a flat-bladed screwdriver between the stirrer and dispenser and turn the screwdriver blade. Separate the dispenser from the washer and set it aside. Remove the center bolt of the agitator using the adapter and socket wrench. Lift the agitator off the base and remove the agitator from the machine. After you remove the agitator, you can install a new agitator or tidy up the old one. GE washers love thorough and gentle care.
